

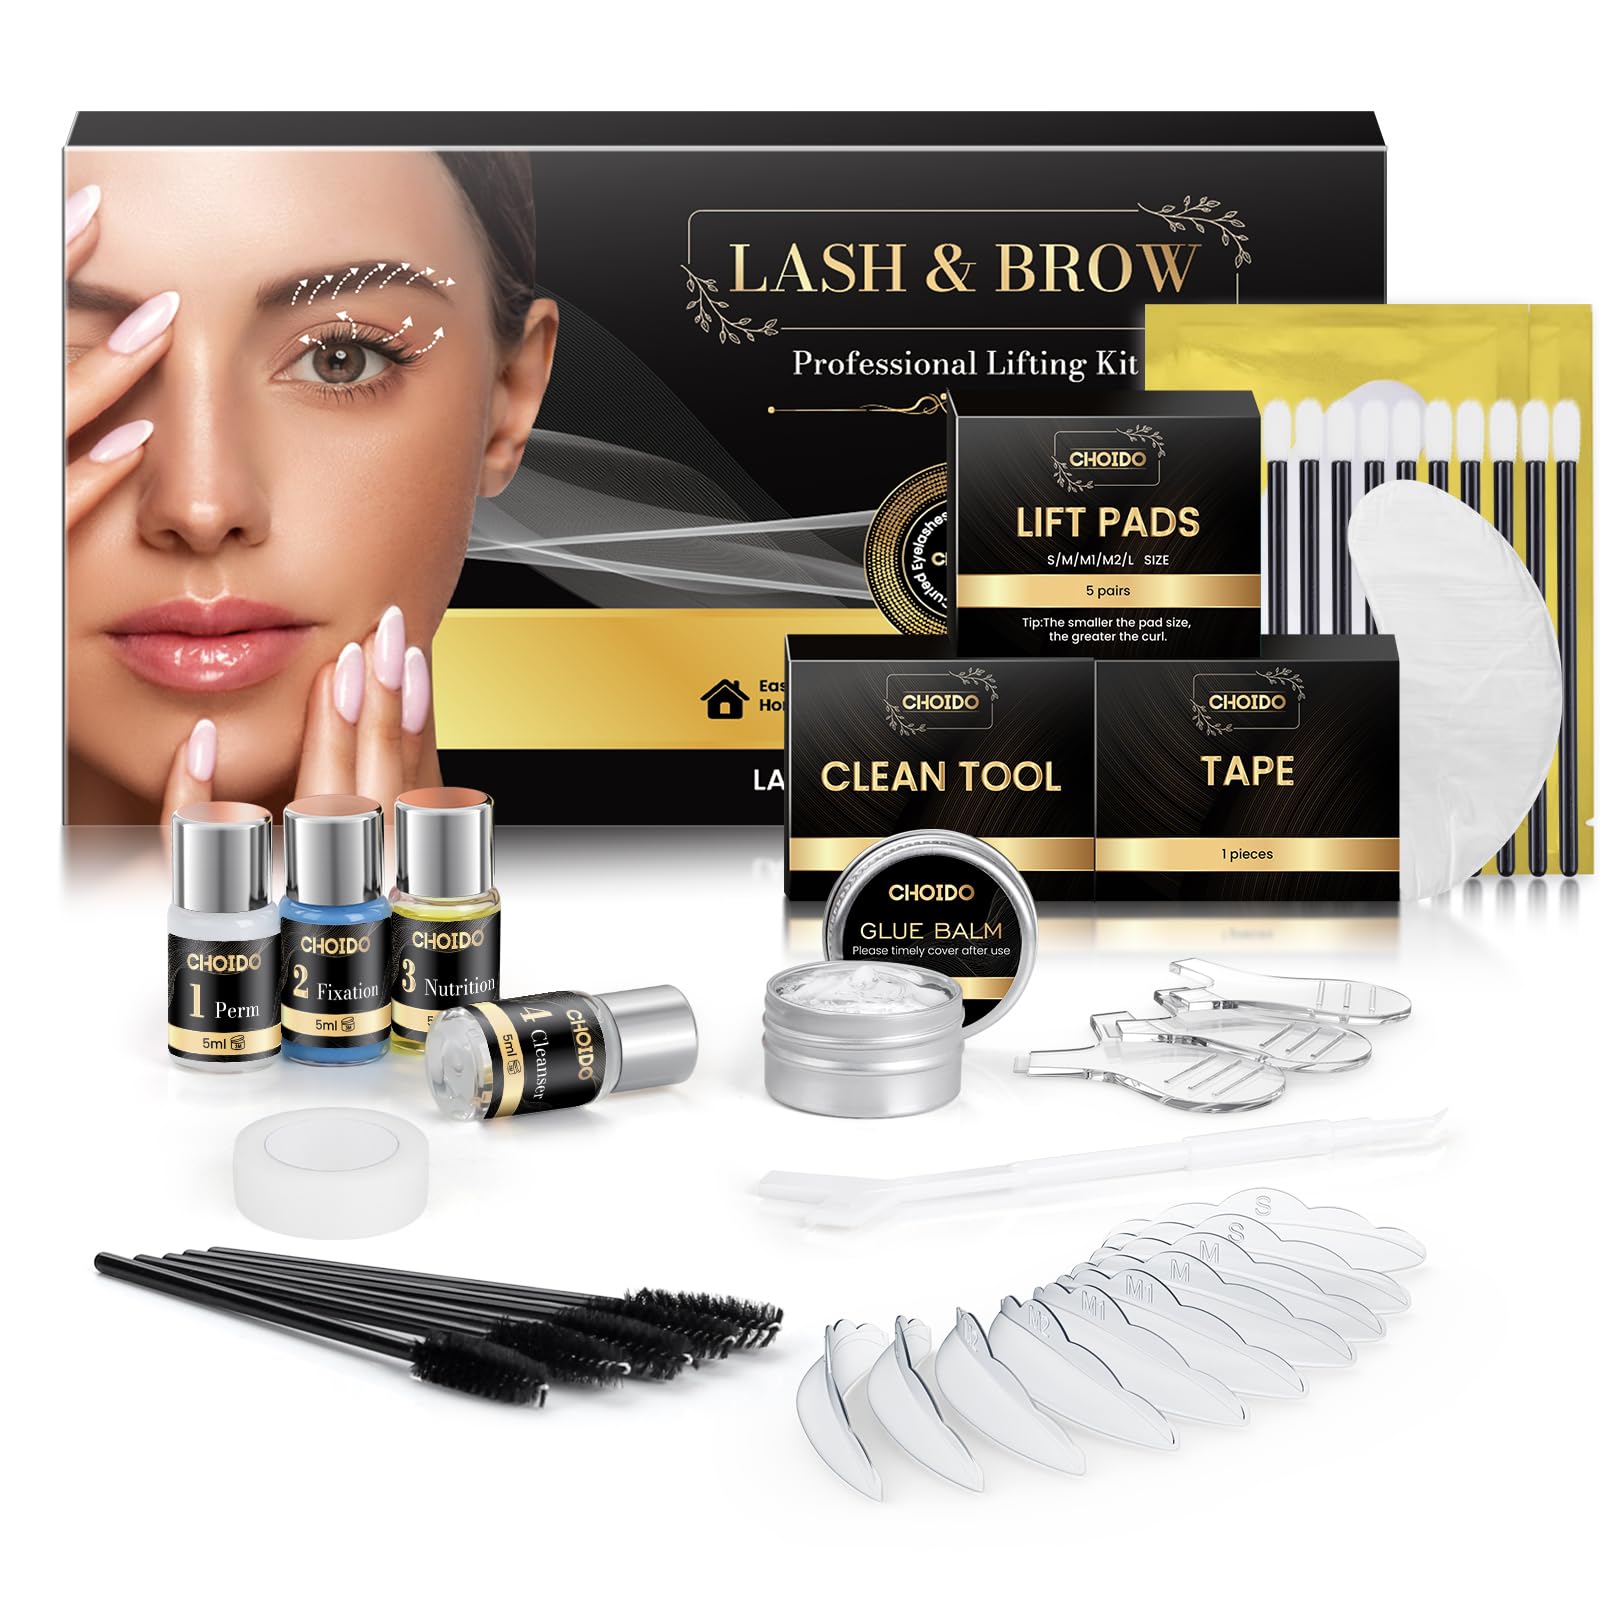
Pinkzio Premium Eyelash Perm Kit Full Eyelash Lift Kit For Professional Use, 15 in 1 Salon Lashlift Eyelash Perming kit
12 avaliações para Lash Lift Kit, Curling Eyelash Perm Kit, Professional Semi-Permanent Eyelash Perming Kit for Salon
Produtos Relacionados
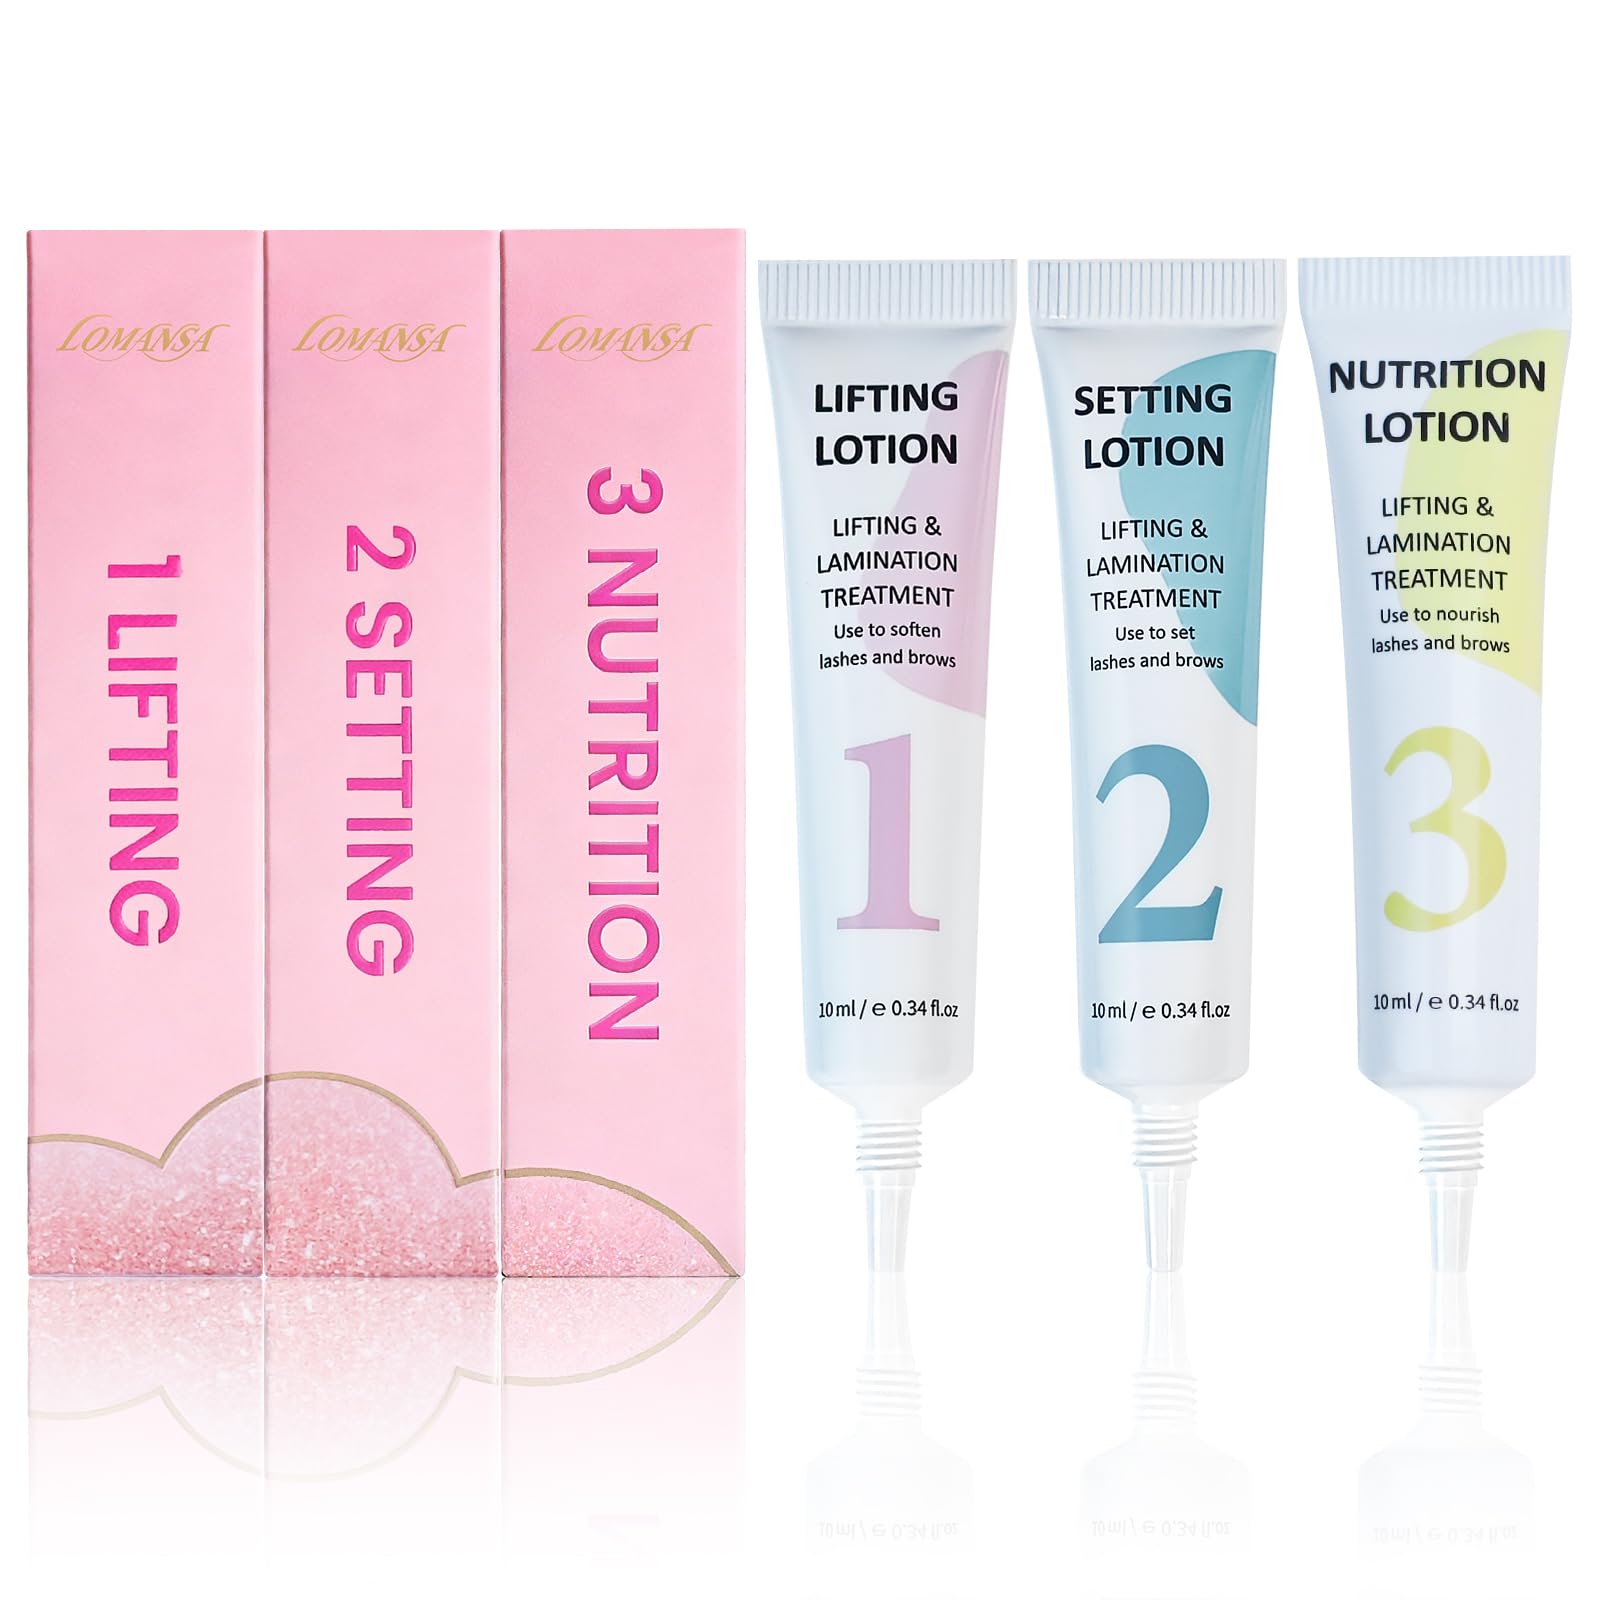
Lomansa
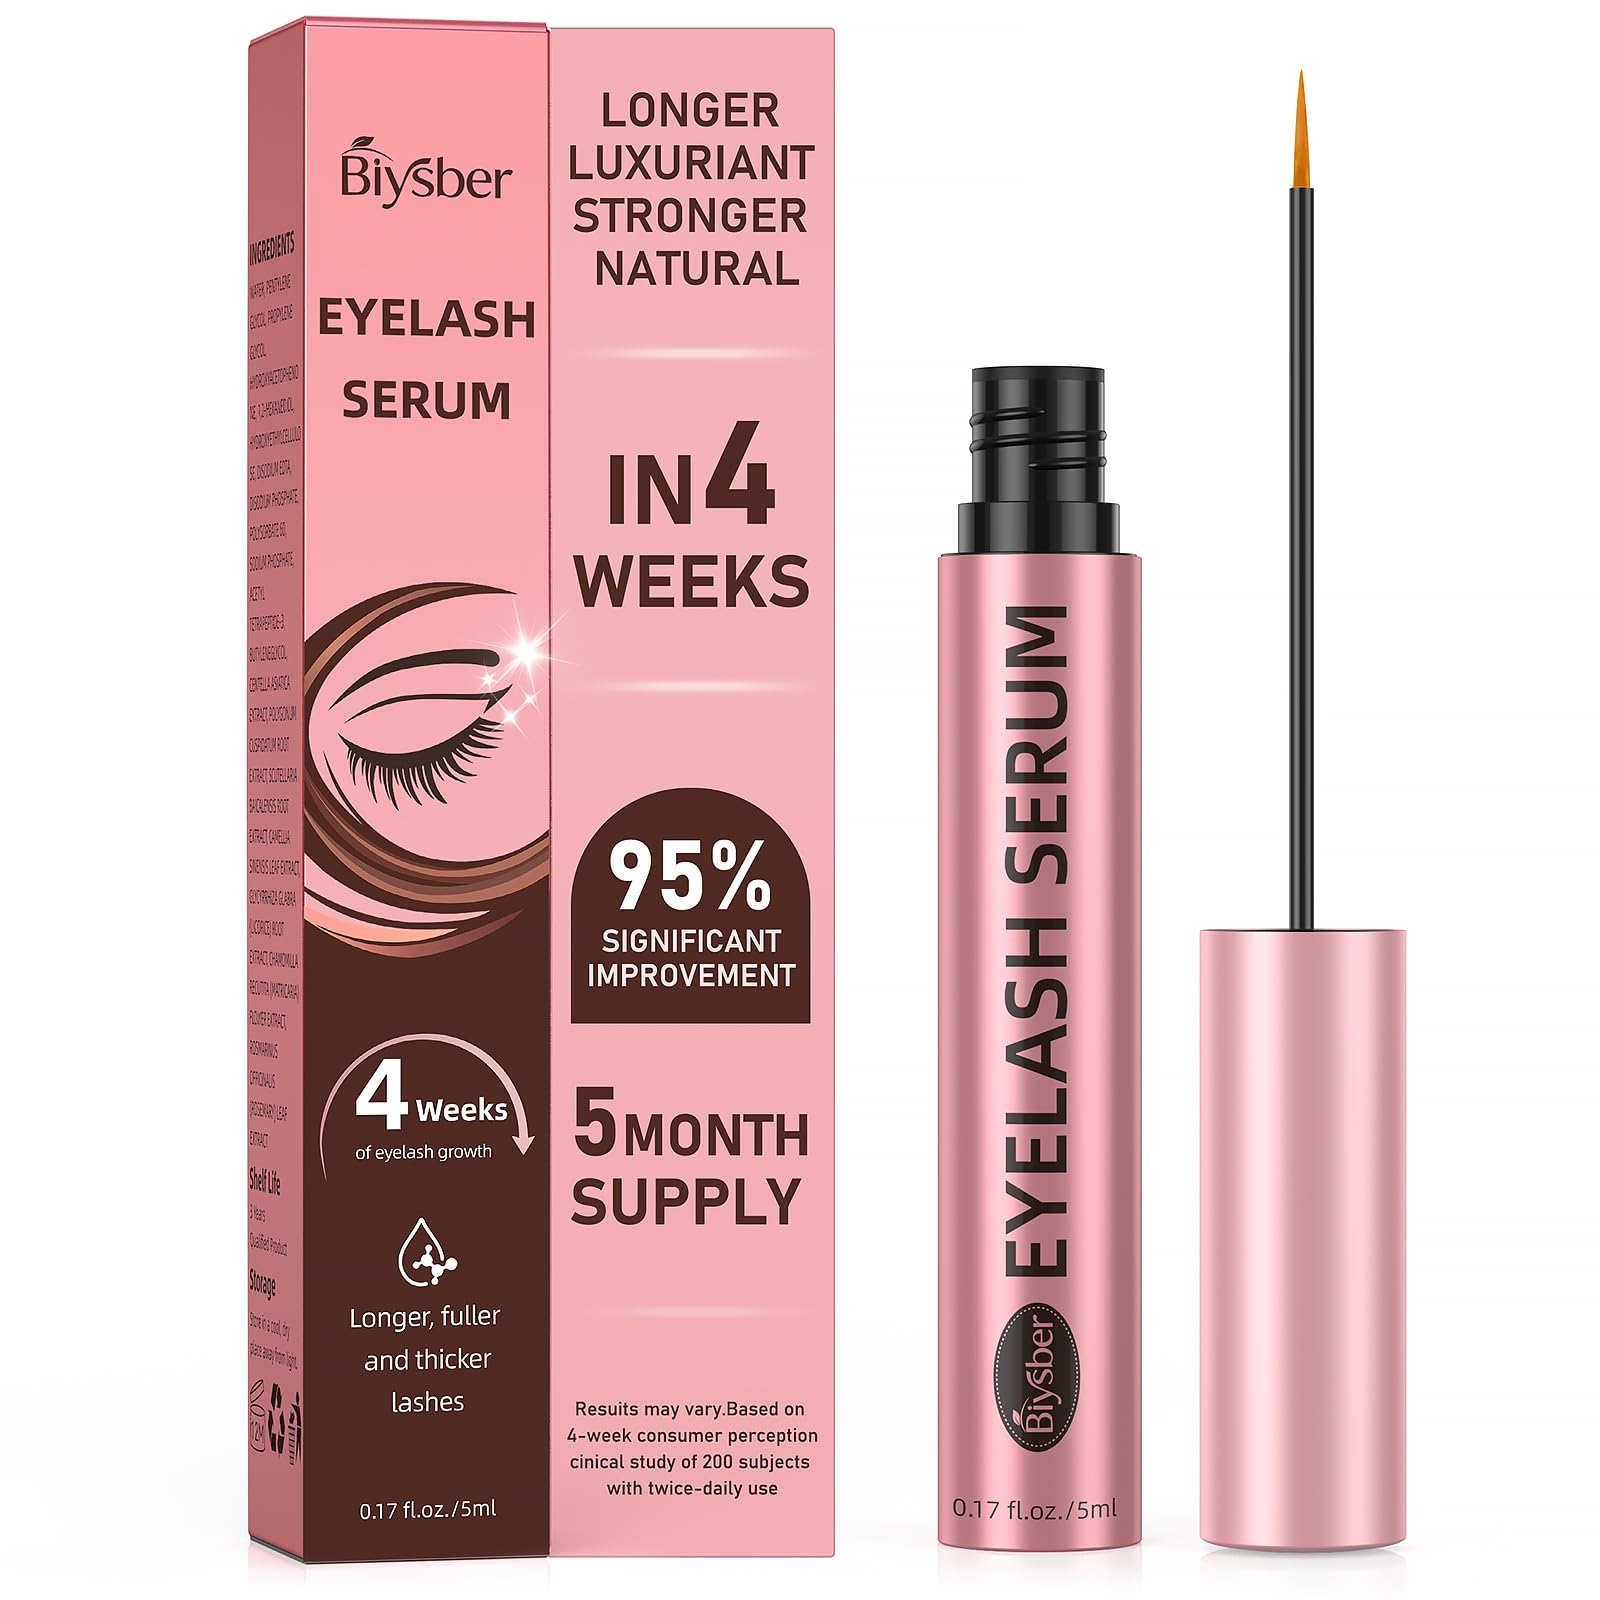
Korean Lash Lift Lotion, Lash Lift Brow Lamination Refill No Tools pink
R$279,90
Frete Grátis


Amazon Customer (comprador verificado) –
Amazing kit works!
After viewing a number of You Tube tutorials and reading reviews of DIY eyelash lifts, I did my first lash lift on my eyelashes. I have long, straight lashes that curl up at the tips. My lashes are easily curled with eyelash curler. However, even with waterproof mascara, my lashes “droop” in humid weather, rain or snow. This kit has detailed, easy to follow instructions. I used the recommended times: 15 minutes for perming lotion; 10 minutes for setting lotion; 5 minutes for moisturizing lotion. The perming and setting lotions have very little odor. It took 1.5 hours, doing one eye at a time. I love my beautifully lifted lashes, and have received compliments on them.Update 11/22/2017: My first lash perm lasted 4 weeks. I had used the large silicone pads and just enough perm & setting lotions to coat my lashes. As it was my first time, I was conservative about using chemicals so close to my eyes. However, for my second lash perm I used the medium silicone pads because I wanted a higher lift & more curl. I also applied more generous amounts of perm & setting lotions on my lashes. My lashes look even better with the higher lift and more curl. My second lash perm lasted 5 weeks.Here are some tips: (1) The kit contains both white sticky rods and silicone pads (S,M,L). The smaller the bump on the silicone pads, the higher the lift. The larger bump gives more curvature but less lift. For my first perm, I used the large size silicone pads for a more natural curl. For my second perm I used the medium size pads for a higher lift and more curl; I like the higher lift & curl. (2) Trim the top and sides of the silicone pads to fit eyelids. (3) Wait for glue to become tacky before placing pad on eyelid, holding pad to eyelid for at least a couple of minutes. Make sure no lashes are accidentally “trapped” underneath pad. All lashes should be freed to be lifted up to pad. (4) Wait for glue to become tacky before pushing lashes up from base of lash to lash tip up to pad. When gluing lashes to pad, try to do a little section at a time, starting at one end and then work your way over to other end. When all lashes are glued to pad, spread a light layer of glue on top of lashes for extra staying power. (5) When gluing lashes to pad, lashes are spread straight up and evenly spaced. Any lashes that are clumped together or crossed over will set that way. If you don’t stick them on perfectly, lashes are going to look wonky after you’re finished. (6) Wait for glue to dry completely before applying perming lotion. Apply perming lotion as near to the root as you can for a better curl. Don’t apply perm lotion to the lash tip as this can cause the eyelash to have too much curl and the lash tip to stick back into the eyelid. (7) After applying generous amount of perming lotion on lashes, cover pad with Saran Wrap to help lashes stay glued to pad. Set a timer; do not guess. (8) After applying generous amount of setting lotion on lashes, cover pad with Saran Wrap. Set a timer; do not guess. (9) After eyelash lift procedure is completed, gently comb lashes with eyelash comb. This is to separate lifted lashes and help them set perfectly. (10) During first 24 hours, lifted lashes are still shape shifting and need time to “set”. No heat, steam, saunas, water, oil, lotions, creams, shampoos, face washes, mascara, or make up remover for 24 hours. Your first night, sleep on your back. Side and stomach sleeper may have misshapen lashes.
Myla (comprador verificado) –
ok
La première fois ça n’a pas marché, mais la deuxième oui, alors je suis contente ! Merci
Amazon Customer (comprador verificado) –
Zero 🌟
Not happy at all, waste of money!
Dayana S (comprador verificado) –
The glue will stay on for days! Use the smallest barrel for upright lashes.
Overall the product does its job. However, there were a few things that I would like to point out.I think the instructions could be better. I researched several youtube videos to make sure we were doing this correctly. additionally, there are no indications as to what the different barrel sizes do/mean. I used the biggest barrel and after the whole procedure, my lashes were only slightly curved. I guess I should have used the smallest one but again this was not explained in the instructions.I like to mention that the glue provided with the kit, it’s very hard to remove. It just doesn’t go away easily. I washed my face the next day and even used coconut oil to help remove the glue on my eyelashes but not everything came off. My eyelids and eyelash area was sensitive for a few days and it took a week for the glue to be completely removed after several washes. I didn’t even use make up the whole week to give my eyes and my face a break.
Shelby (comprador verificado) –
Don’t waste your money
Glue was dried out when it arrivedUsed the list and it didn’t work whatsoever.
Elicea Christensen (comprador verificado) –
Great Value – Great Product
I have never done an eyelash lift before – I’ve never done it myself and I’ve never had it done for me. I was a little worried about how this would work. After watching several youtube instructionals, I decided to give it a go. My lashes grow sort of wonky, some curled and others not, plus I tend to sleep on my face so one eye is all sorts of messed up! I was desperate, but not willing to pay to have it done by someone who knows what they are doing. Apparently I feel good about weighing the cost of having someone do it against the cost of doing it myself and possibly causing blindness.With this kit, I also ordered a separate set of pink silicon curlers, but when I received my kit I saw that it came with the silicon curlers as well. So I wanted to give them a shot too. The curlers in the kit had sizes printed on them (small, medium, large) while the ones I bought separately did not explain the sizes. You have to sort of eyeball it. Since I’m totally new, I didnt want to have to put in any guesswork. The curlers that came with the kit worked great. I didn’t try the stiffer ones that look like little white paper sticks, though. So I can’t comment on those…. other than they just look flat out uncomfortable.I was pleased with how much product comes with the kit. I feel like I hardly used any when doing my eyes the one time, and can easily do them every two months for the next two years, assuming the product has a decent shelf life. I didn’t think to check that out….so I guess we’ll see.The glue works SUPER well. I appreciated that, once I was able to get all my lashes where I wanted them. You have to be quick (but careful) because it is really easy for the lashes to end up in weird positions if you dont straighten them out before the glue dries. But again, I have wonky lashes… so it was no surprise that this was a bit of a struggle for me. Unfortunately, I made the poor choice of trying to correct the lash position after the glue had dried by using a metal lash comb… I ended up immediately stabbing the super freaking tender waterline – so that was fun.**One thing about the glue bottle though… like any good product that comes in a tube, it has a little stopper to scrape off the excess glue as you pull the wand from the bottle. While it’s nice that does that, this little thing really makes it difficult to accomplish this on your own, since one of your hands will be too busy pressing the lashes to your eye. I ended up removing the stopper and setting it aside until I was done. **The rest of the product comes in tiny glass bottles, that each have little plugs in them to prevent leaks since the package lays on it’s side. I thought that was convenient, as I would be bummed if any of the product spilled while sitting there waiting to be used again.I was terrified that I would get the product in my eyes, but I managed not. It was definitely a little time consuming to do, too. But I ended up really enjoying doing it myself and I love the results. Next time I used the medium curlers, but I think next time I will use the large.I would definitely recommend this kit to anyone looking to get a lot of product for the cost. I would also remind anyone who gets it to please not double dip their q-tips when putting on the product. There is so much bacteria hanging out on your lashes, you dont want to put that in the bottle. Each time you need to dip for more product, use a new swab!Love the kit. Love the results. I normal lashes now and that means I can wear mascara again without looking like some kind of monster.
Lucy (comprador verificado) –
Glue was great but the perming solution was old and smelled
The reason I’m giving this product one star is because of the perming solution (step 1). I’ve been perming my lashes for almost a year now and have tried different brands of eyelash perming kits. The reason I went with this kit this time was because it came with more perming solution than any other kit on amazon, and I do go through a lot of this product as a perm my lashes once a month. I really loved this kits eyelash glue; it really helped keep my lashes in place better than any of the other glues in other perming kits. However, the perming solution you could tell was old. The solution smelled like what this solution usually starts to smell like when it needs replacing or it’s getting old, a sulfur/boil egg smell. I still went ahead and stupidly used it to perm my lashes even though it had a smell. I had ran out of my other solution and needed to perm my lashes for an event I had the next day as I had a lot of new eyelashes that had grown out already that were straight. The solution did work, but I felt it wasn’t as effective as the other perming kits I have purchased on amazon most likely due to it being old/the smell. I’m not sure if this is how everyone has received this product (with old/smelly perming solution), but please don’t be as stupid as me and still use the solution even though it’s noticeably old. Make sure you smell your solution before you use and if it has a smell that’s not normal.
Mackenzie (comprador verificado) –
Missing silicone pads
I like how many solutions come in this pack but the silicone pads were missing so I can’t use it
Zoe Bever (comprador verificado) –
Great kit if used right!!
I really like this product! I find that the lifted lashes look so much better than just curling them and it’s so nice not to worry about recurling your lashes wether you are going on vacation or just looking to save a few minutes in the morning! but also be realistic with your expectations with this 14$ kit- sometimes there are defects or bottles break or leak in transit. You get what you pay for. Really I find it’s mostly up to you how you lashes turn out- how you space your lashes out and apply the perming solution.Be warned also that also as your lashes grow out they can get kinda tangled looking and kinky. So they look great for 2-4 weeks and then for 1-2 weeks they look not so great. Still worth it in my opinion.I know it can be super intimidated to perm your own lashes so hopefully this post can help! ( Heads ups it’s gonna be long!). But really it’s not so scary to use once you get the hang of it!Before you start make sure you assess you lashes. Use a comb and brush them out when you have no makeup on. Check their thickness. Check how brittle they are. Check how long they are. Are they all about the same length? Are a number of them really short with a few longer. If there are a lot of “baby lashes” that haven’t really grown out it is going to make it harder to perm. Wait a few weeks until they reach maturity. Also when you perm “baby lashes” when they grow out they can have weird kinks in them. I find it’s best to have mostly adult lashes that just fall out instead of growing out with a kink.In the mean time make sure you are taking good care of your lashes. I would recommend putting castor oil on your lashes before you go to bed for at least a week before. If your lashes are weak and brittle the chemicals can be a bit intense, but because I usually use an eyelash curler and the constant pulling and crunching can loosen the lashes, I actually find my lashes fall out less after using this. . Make sure that after you lift your lashes that you continue to apply oil or conditioning serum so they are less likely to fall out.Ok so when you are ready to do this treatment make sure you aren’t doing anything where you will need to get your face wet. they can’t get wet for 24-48 hrs after perming, so have a shower and wash your face before (although I have gotten them wet 20 to 18 hrs later and they seem to stay fine for me). I would recommend doing this early in the morning because if you do it right before bed and the lashes aren’t fully set then sleeping on them can dent them. Also use the cleanser on your lashes before starting to remove oil.Now you need to pick what size silicone pads you will use. If your lashes are really short then maybe use small or medium. If they are long definitely use large. If you want a bit more natural look definitely use the large. That’s what I use. In the past the mediums have made my lashes too curled- and they end up with a really terrible kink not a natural curl.If you use the silicon pads, which I would recommend, then before gluing them on roll them in your hands into a c shape and hold for 30 sec to a min. This will make it easier for them to follow the contour of your eyes and prevents the inner corners from lifting. Also cut them to fit your eyes.Then apply the glue and stick them on- make sure they are as close to your lash line as you can get. I would recommend doing one eye at a time if you are new.Now the most important part is gluing down your lashes to the silicone sheild. Comb out your lashes and work in small sections.Only apply the glue at the top half of the sheilds – half the height of your lashes. Let the glue dry for at least 15 seconds before pressing them up. I would recommend using a tooth pick. Alternatively you could use your finger and then use the tooth pick to re arrange them. Take your time with this step and make sure the lashes are spaced out and not in clumps. Use the pointy end of the tooth pick to break up clumps and make sure the lashes aren’t overlapping. Also make sure they aren’t pointed inward and are either going straight up or slightly tilt to the outer corners of your eyes.When you are happy with how they look, take a cotton bud and a bit of the cleansing water and wipe any glue you might have gotten on the lower half of your lashes. A few of your lashes may come undone at this point so carefully re glue them without getting glue on the bottom part of your lashes. DONT SKIP THIS! If you leave glue residue then your lashes won’t curl. I have had to re do my lift several times because of this mistake.Now take a toothpick and dip it into the first perming bottle ( white one ). Apply it as close as you can get to the base of your lashes in a thick layer. Be generous with how much you use. I made the mistake of using too little a couple times and I find the lift doesn’t look as nice. Set a timer for 10 min if you have thin or brittle lashes and 15 if you have thick or very healthy lashes.After, use a cotton bud to VERY carefully remove the perming solution. Don’t get this stuff in your eyes!!Now follow the same process with the setting solution ( blue bottle ). Make sure you apply this to all the areas you put the permig solution and be generous again. Only leave this one on for 10 min. Then remove carefully again.Now use a cotton bud to apply the conditioning oil. After it sits for 5 ish min (this one doesn’t really need to be too precise) then take a cotton bud with the oil and run it under the silicone sheild to unstick. Use the oil to remove the glue as best you can. I always find that my eyelids are a bit sticky no matter how much I try to remove it. Then just comb through your lashes with the oil still on to try to remove the last bit of glue. Hopefully if you followed all these steps you now have beautifully curled lashes!!! I hope that this helped someone!Remember not to get your lashes wet and wait 24 hrs before applying makeup or castor oil! I would highly recommend applying castor oil every night after to prolong the life of your lift!
B (comprador verificado) –
It Works!
Wow. This was by far the sketchiest product I have ever used. First impressions did not inspire confidence. The packaging was sturdy, but the box is riddled with spelling errors. A couple of the solution bottles also had the labeling scratched up. That being said, in my area a lash lift runs $75+. After ditching extensions I wasn’t ready to pay the price of a fill for a lash lift, so I said a prayer to the universe and gave it a shot.After watching several youtube videos and reading the reviews here my first go at it was terrible. It was really hard to get the form to stick to my eyelid. I tried my left eye just in case it blinded me (HA! Glad that is a joke). One gluey mess later I applied the solutions, set my timers, and struggled to get my lashes unstuck at the end. I was left with zero results.A couple days and more research later I tried it again. I am adding my own tips as well as tips I found helpful from other videos/reviews.1. Cleansing. I washed and dried my face and hands to remove natural oils. I used a cotton ball with cleanser water (#4) on my lashes and lids after. It smells like diluted rubbing alcohol.2. Applying the form. Make sure you trim down the form so it fits on your eyelid, and not over on the sides or top. It will be much harder to glue it if it’s oversized. I used mediums. When it is cut properly it should only take one layer of glue with a little extra on the corners. Let the glue get tacky, and gently hold on your eyelid without moving. I counted to 30. The stick wasn’t perfect on the corners, but it was sufficient for a nice lift.3. Gluing the lashes. Don’t use too much glue! I found that gluing the top half of the lashes down was best. Like the instructions suggest work in sections. I let it get tacky, used my finger to brush my lashes straight up, and followed with the flat side of a toothpick. After they were pressed down, I used the tip of the toothpick if any lashes were noticeably crooked.4. Applying the solutions. I found it easiest to dip a clean toothpick and gently apply from the base of the lash halfway up. I used enough solution so that it was visible. The first time I painted on a thin layer with a brush and it didn’t work. I carefully re-glued the tips of any strays that came unstuck, and I then applied a piece of saran wrap to keep it from drying out (saran also helps keep the lashes laying down). Keep a q-tip handy to clean your waterline of excess. Set your timers! I used another q-tip at the end of each timer to clean the solutions off.5. Applying the remover oil (3rd solution). Oil breaks the bonds of lash glue so this step is important. I used a fully saturated q-tip and covered the whole lash with the oil, focusing on the glued portion. Cover with saran, wait 5 minutes, and then use a re-saturated q-tip to gently coax the lashes off of the form. I used a gentle upward brushing motion to move the glue upward and off the lashes. It took me an extra 2 minutes to safely get all of my lashes unstuck. I then worked on my lashes and lid to get more glue off. It was difficult to clean my eyelid. I carefully q-tipped more solution, soap, and makeup remover with slow success. Ultimately the rest of the glue came off the next day.I was left with gorgeously curled lashes. By the end of the process I used a handful of q-tips, cotton balls, 4 toothpicks, and a spooly to brush them out at the end. Total time took me 1hr and 15min doing one eye at a time. I washed the silicon form with hand soap and warm water to reuse next time. On day 4 my lashes still look gorgeous. I will be sure to update if needed. Overall it took a little bit to get the hang of, but I am so happy with results I feel it was worth the initial struggle.Happy lifting!
Leslie M (comprador verificado) –
This product truly delivers!
This stuff is amazing! It definitely does what it says it will do. I watched a few YouTube videos as guidance and I suggest you do. It makes it easier to understand what to do. I used the small size silicon pad for very curly result and it delivered. I believed I used to much glue and the cleansing water it comes with wasn’t enough to remove the glue so I used coconut oil and a cotton pad to wipe it off. Then I had to pull it off my eyelashes throughout the day. Don’t do this If you have somewhere to be Because the glue is kind of bothersome. I thought I got all the glue, then within the hour more glue appeared to have dried up on my lashes. My eyelids swelled up a little, only noticeable to me. I’m very sensitive to anything around my eyes, I can’t wear fake lashes my eyes get watery and it’s just annoying, so for this process I tried to relax and it worked better if I just shut my eyes until the timer went off. My eyelashes on one eye are longer than the other, so those turned out way curlier. The draw back is that when I apply mascara my lashes go back into My eyelid and it’s very challenging to to apply mascara and clean it off. Next time I’ll do medium. But if you’re not going to wear mascara then Small is the way to go! I haven’t noticed any of my lashes falling or any negative side affects. I’m so happy with this product. Hope the pictures I shared are helpful to you.
Veronica (comprador verificado) –
Totally worth it as long as you have the patience!
I watched like 5 tutorials on YouTube before actually trying this out just so I kind of knew what to do. The kit comes with instructions but they made more sense to a rookie like me after watching a few videos. I used the little silicone pads in the small size because I wanted the most curl. My lashes are pin straight. I put the glue onto the pad, let it get a little tacky then placed on my eyelid. Then I applied the glue to the top of the pad, waited for it to get tacky then used the plastic thing that looks like an eye brow from the kit to push my lashes up against it. The key to them sticking is waiting for the glue to get a little tacky! The rest of the instructions are easy to follow. I used a q-tip for every application step. From reading the reviews I think they curl even more once your lashes dry, but so far I LOVE my result even how they look now. It took me about 2 hours because I did 1 eye at a time. I did 15 min on with #1, 10 minutes with #2 and 5 min with # 3. I’ve gotten this done at a salon before and it also took the same amount of time, except this time I saved myself money! For the price, this kit is perfect because you can re use it multiple times. I would highly recommend this, just make sure to watch a few YouTube tutorials!